- How it works
- Who it’s forShippersPublic SectorFinancial
- Use casesShippersPublic SectorFinancial
- Resources
- Company
- How it works
- Who it’s forShippersPublic SectorFinancial
- Use casesShippersPublic SectorFinancial
- Resources
- Company
We have just launched a new version of beta.railstate.com, and included some changes that we are excited to share with you. Specifically, we have added Watchlists, Customizable Tables, and Document Export.
Watchlists can be seen as a smart search ‘bookmark’ that saves you the steps of re-applying parameters each time. Example: Do you need to check certain train types in one geographical location all the time? Or looking for equipment with the same IDs each day? Just enter the search query once, press the “Add to watchlist” button, and next time just return to the bookmark that was created. (Note: the bookmark will always select the current time period (unless you set specific fixed dates in the past prior to saving).
1. Filter results as you would normally, then press the “Add to watchlist’ button as highlighted in yellow below:

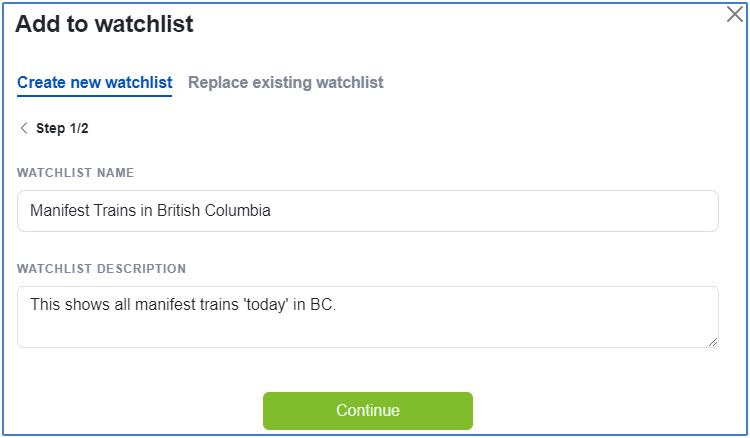
2. In the pop-up dialogue box, give your query a name, and description (so that you can identify it in your list later) and press Continue:

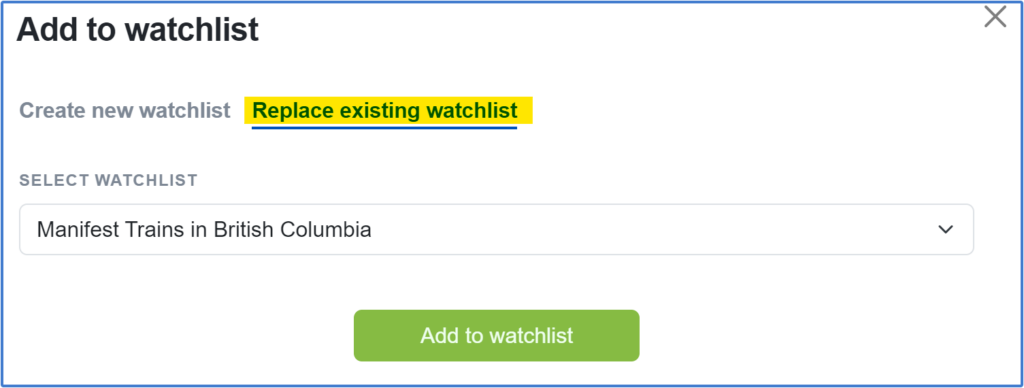
3. Instead of creating a new Watchlist item, if you wish to save over an existing Watchlist click on ‘Replace existing watchlist’ as indicated below, and select the Watchlist you are wanting to replace:

4. If you have an existing Watchlist open and you simply want to save over it (with new filter parameters, etc) simply press ‘Save’ as indicated below. Alternatively, if you want to create a new copy, press the three dots then ‘Save as’:

5. You can see your existing Watchlists by clicking on Watchlists in the menu bar. Here you can load the watchlist by clicking on the hyperlink under name, modify settings or delete the query. As a faster means of loading the watchlist, select via the dropdown arrow beside the Add to watchlist button in the top right corner.

When working with a table in the UI, you can now select which columns to be displayed and in which order, including sorting options. This can help simplify your view and save time sorting results.
1. Simply click the Customize button in the top right corner of the results table as indicated in yellow below:

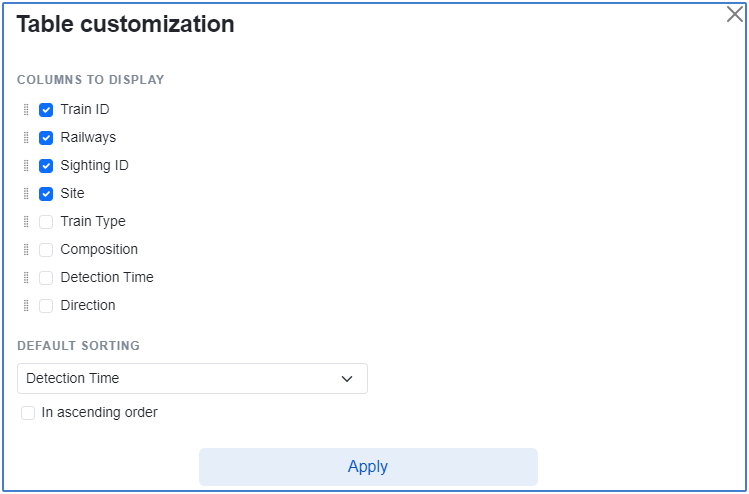
2. Once there, toggle the check-mark for what columns you want to show, apply the default sort field, and order. Press Apply, then now, each time you return to this same screen, you will see the results as you selected.


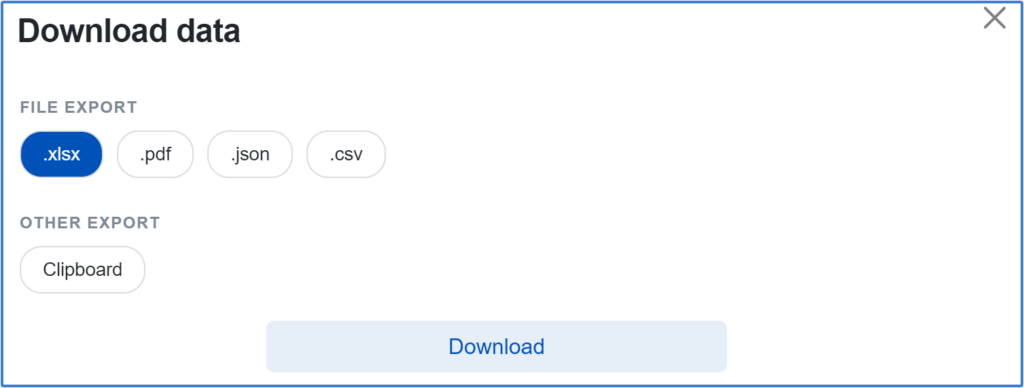
2. In the dialogue box, select the file type format you would like the results in, and press the Download button.

Schedule your in-depth demo today to explore how Rail Network Intelligence can unlock insights for your rail supply chain.
Copyright © 2025 RailState LLC